
Interactive checklist: claim your real estate business on ChatGPT. Tick each step as you finish it. Your progress is saved on this device, so you can come back after OpenAI emails you.
New to this? Read the full guide and watch the video first, including the four catches to know before you click.
1Open Business Hub and search for your business
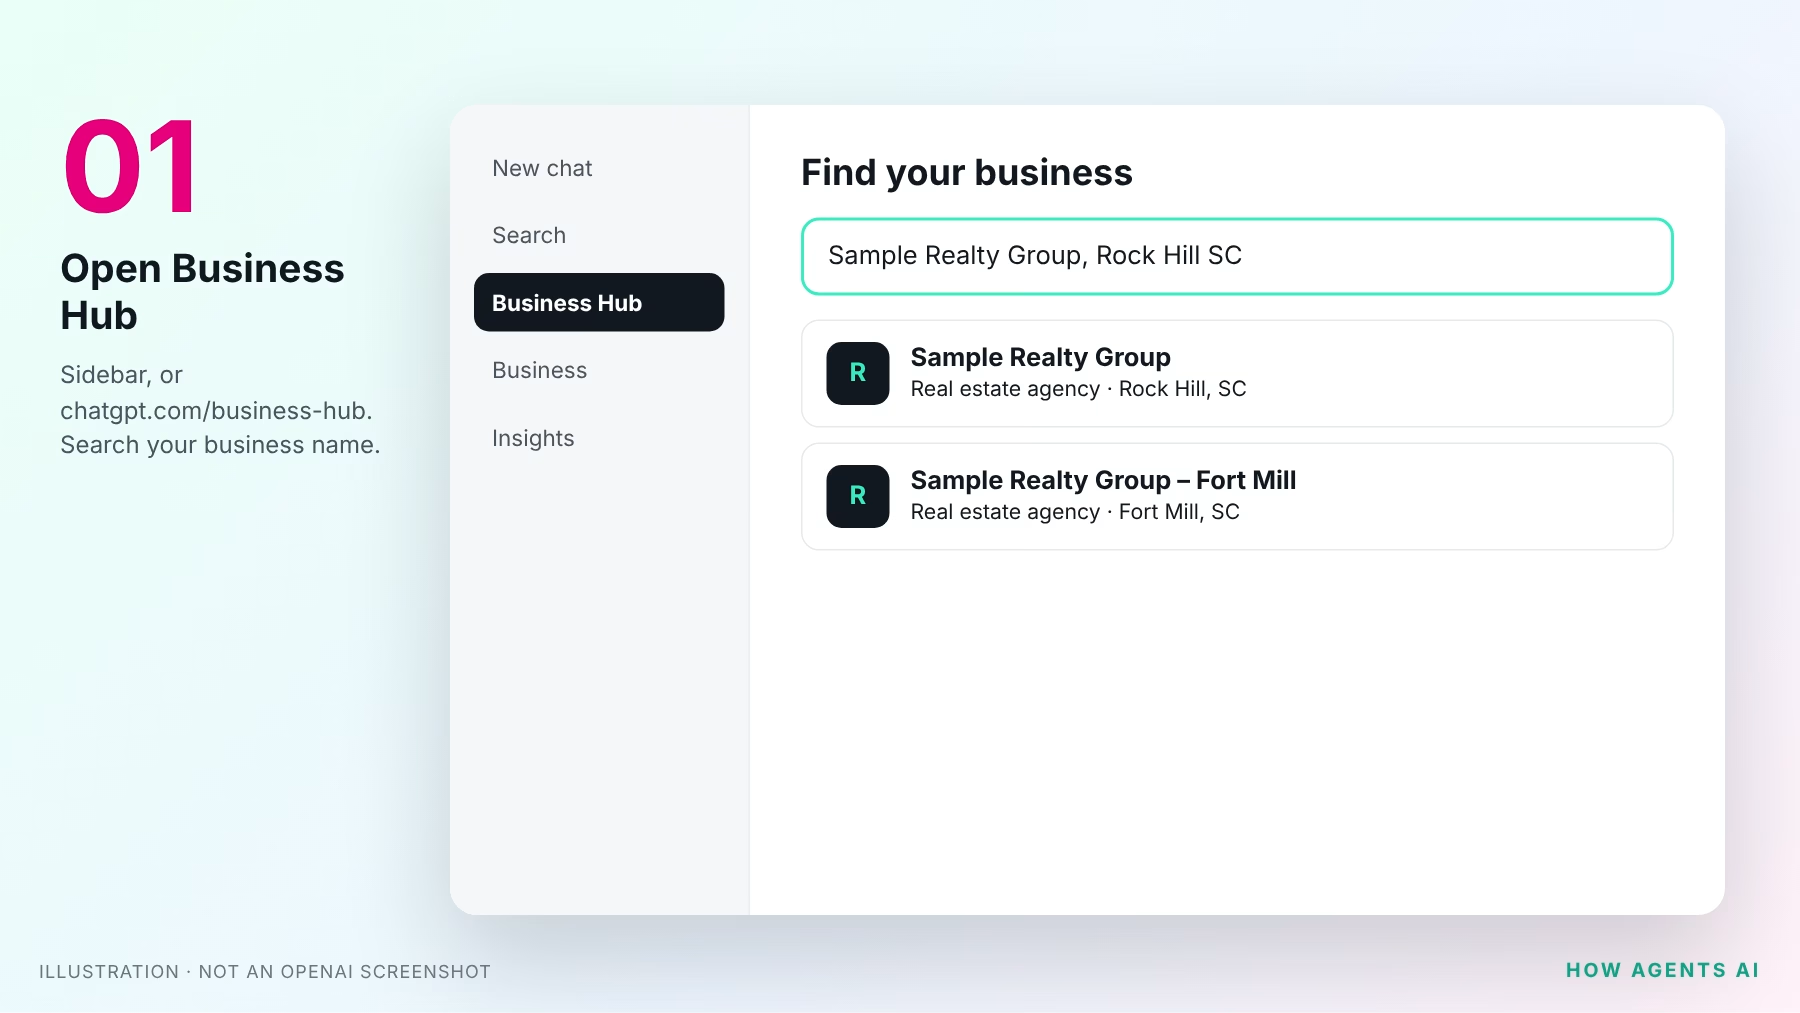
Sign in to ChatGPT with the account you’ll keep. Open Business Hub from the sidebar, or go straight to chatgpt.com/business-hub. Search for your business by name. Try your team name and your brokerage name too.
2Select your listing and confirm your account
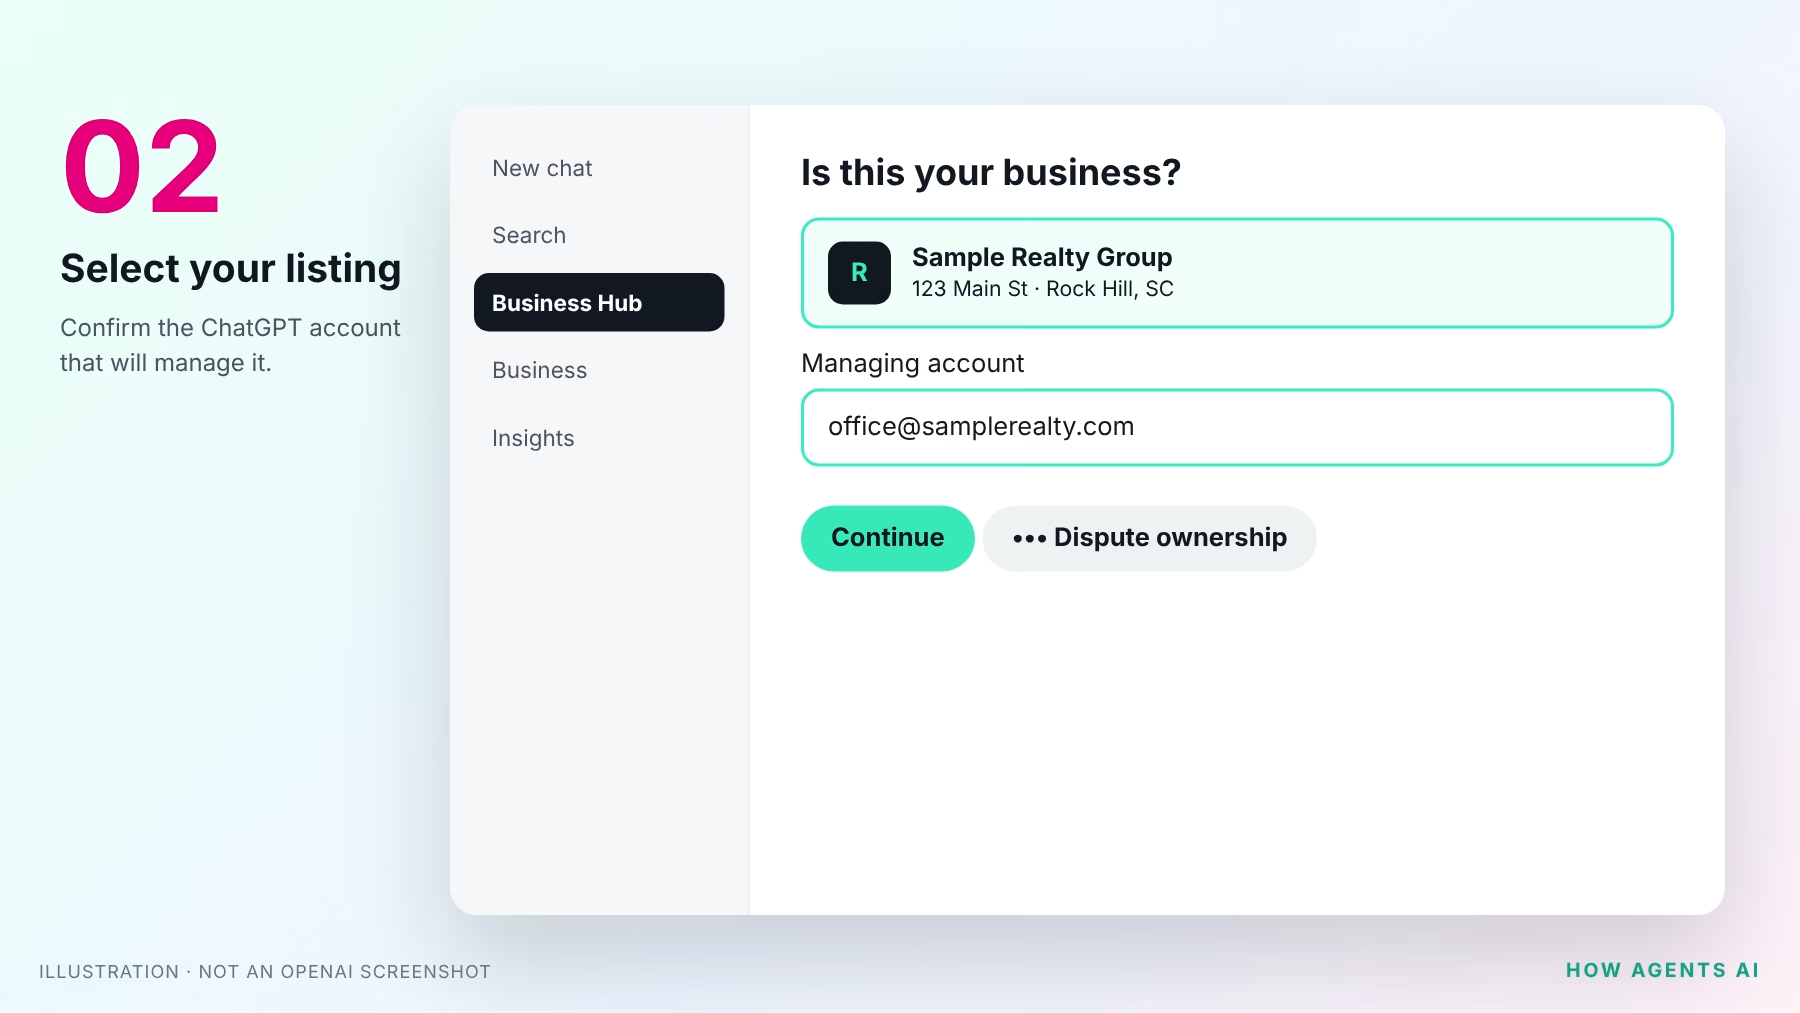
Choose the listing that matches your business and confirm the ChatGPT account that will manage it.
- Got a claim invitation by email? Open the personal link and sign in with that same email address.
- See “Contact support”? The listing is locked. Use that button to request access.
- Can’t find yourself? Eligible online businesses may see an option to add one. Local offices can only claim an existing U.S. listing.
- Someone else claimed it? Open the profile’s ••• menu and choose Dispute ownership.
3Verify the business
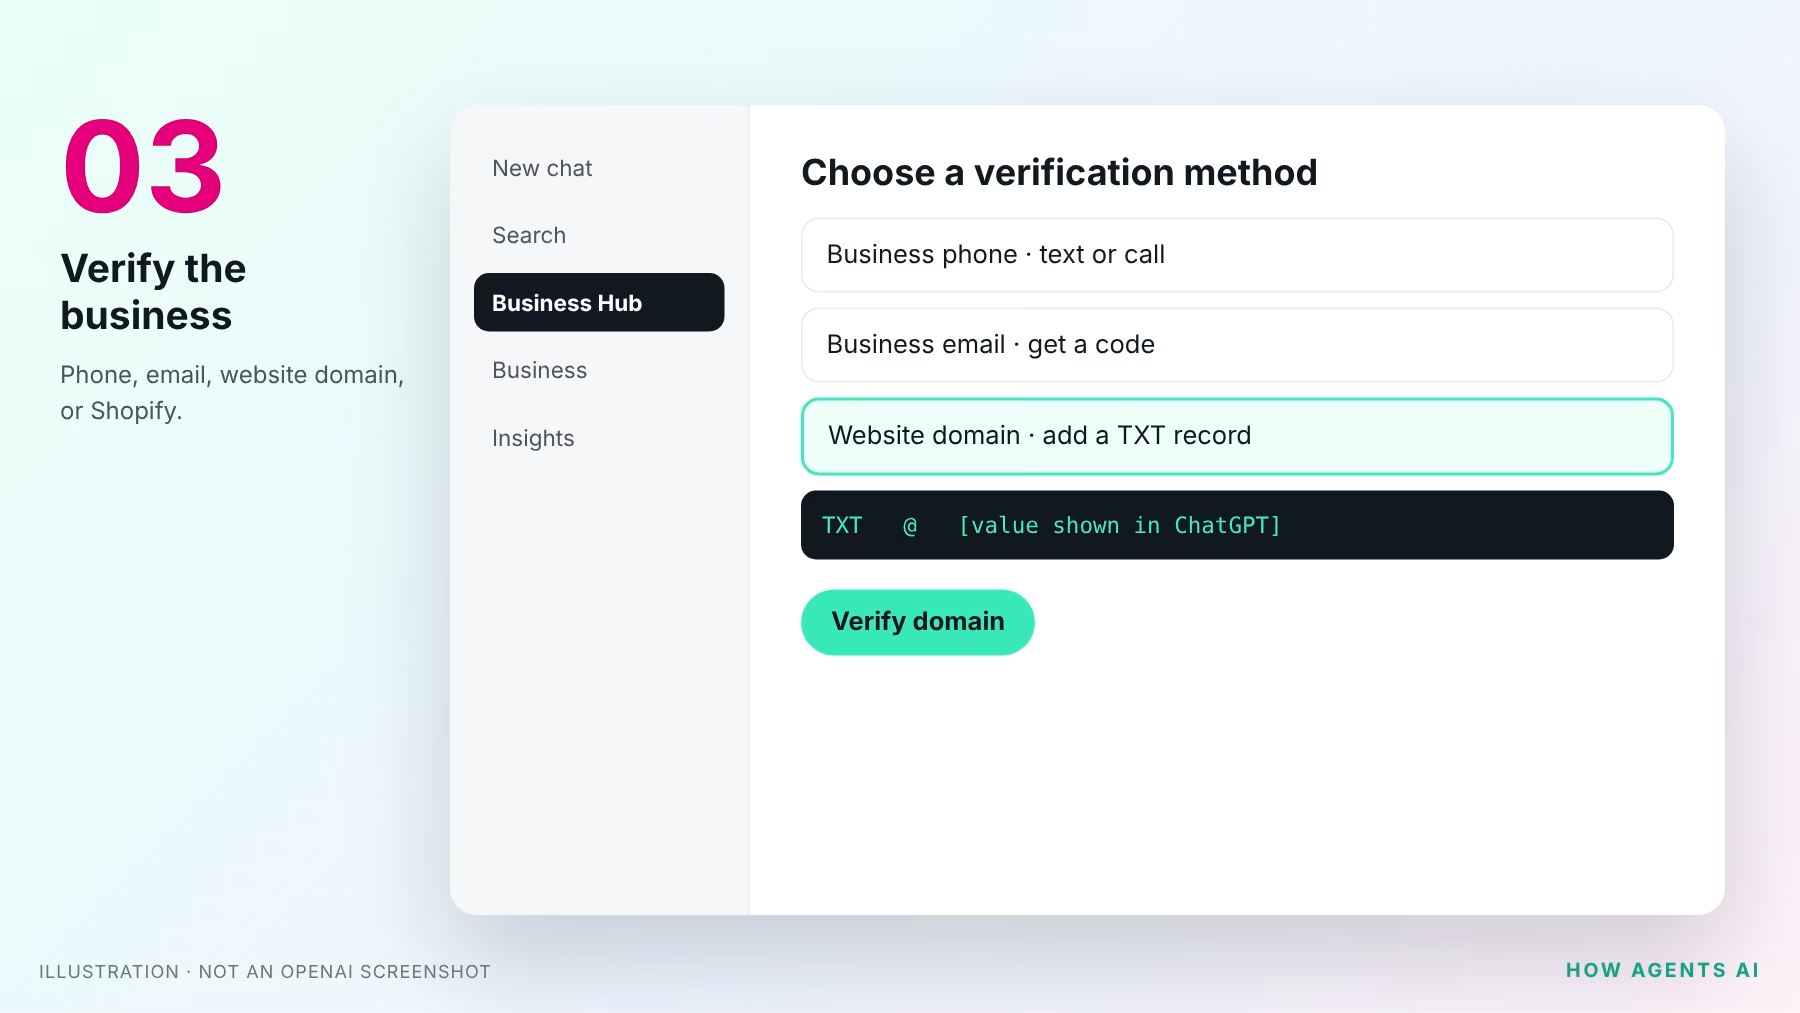
Pick one of the methods offered for your listing:
- Business phone: choose a text or an automated call, select Get code, and enter it.
- Business email: select Get code and enter the code sent to your business address.
- Website domain: add the TXT record ChatGPT shows you to your domain’s DNS, exactly as shown, then select Verify domain. If we manage your domain, send us the record and we’ll add it for you.
- Shopify store: for online sellers only.
4Wait for claim approval
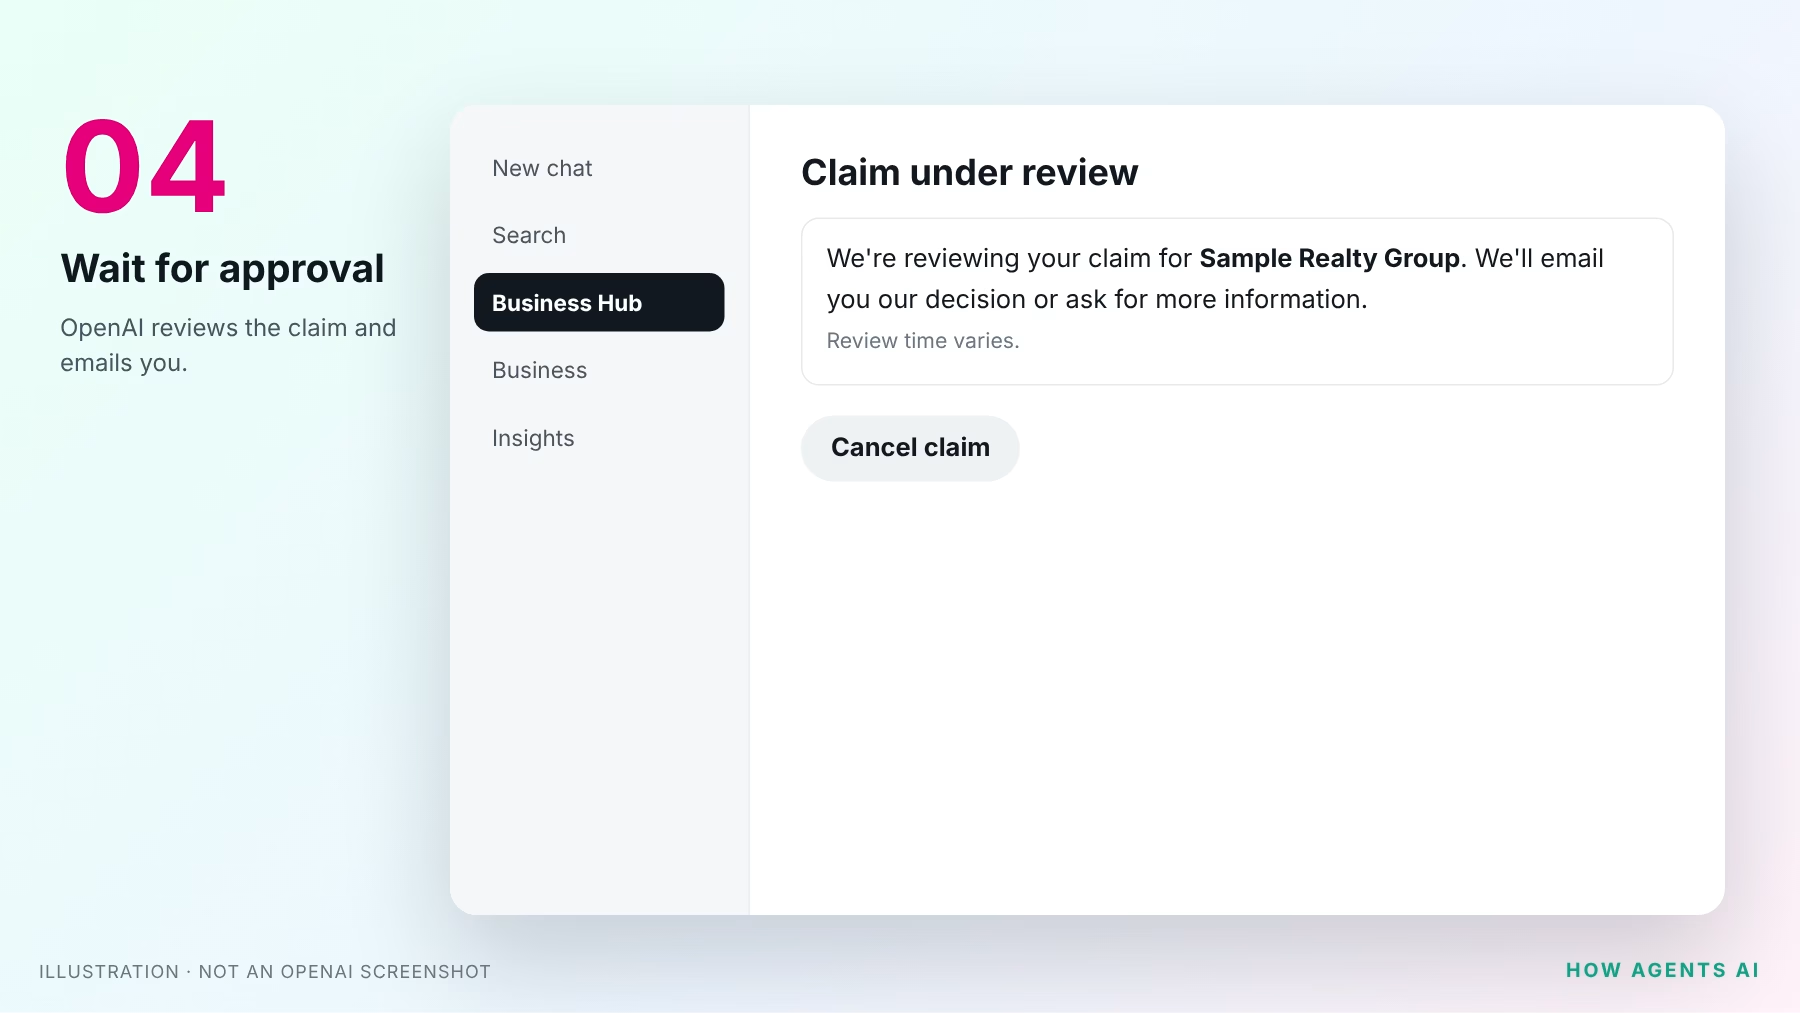
OpenAI reviews your claim and emails you its decision, or asks for more information. Review time varies, so wait for the email before trying again.
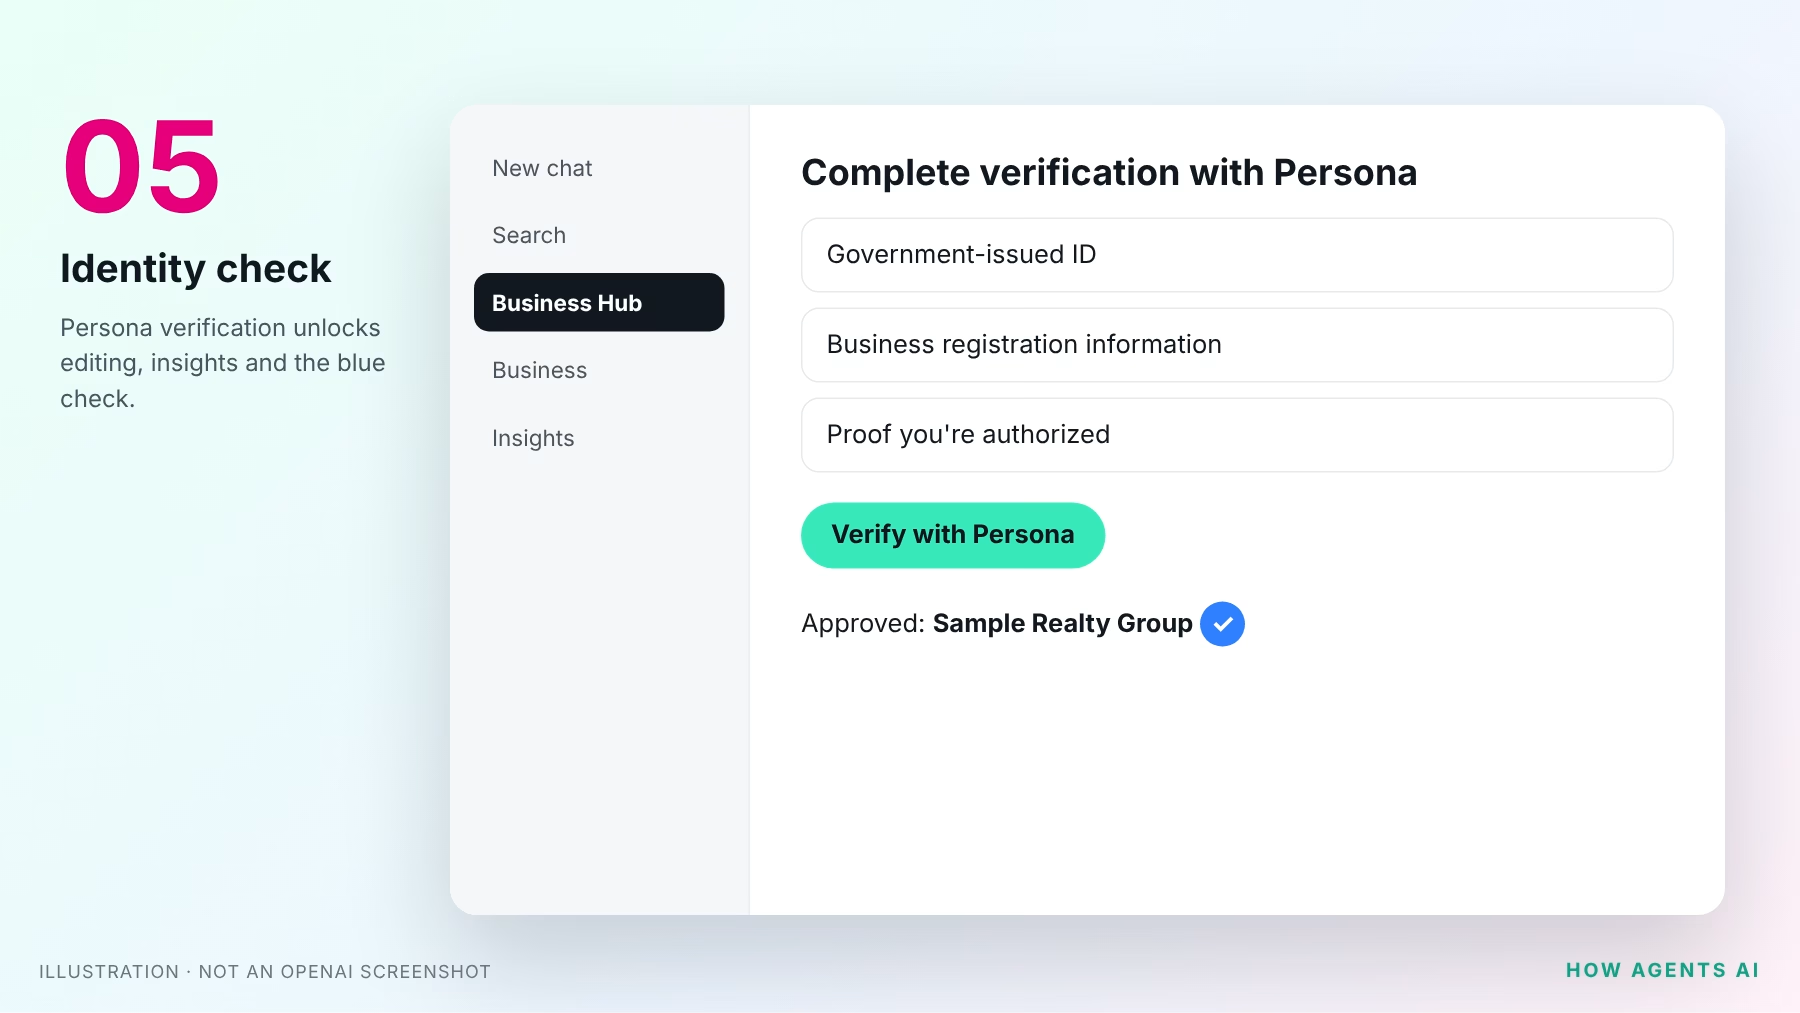
5Pass the identity check with Persona
Select Verify with Persona, then Continue to Persona. You may need a government ID, business registration information and proof you’re authorized to represent the business. You need this to publish changes or see insights, and the blue check appears only after it’s approved.
6Fill in your profile
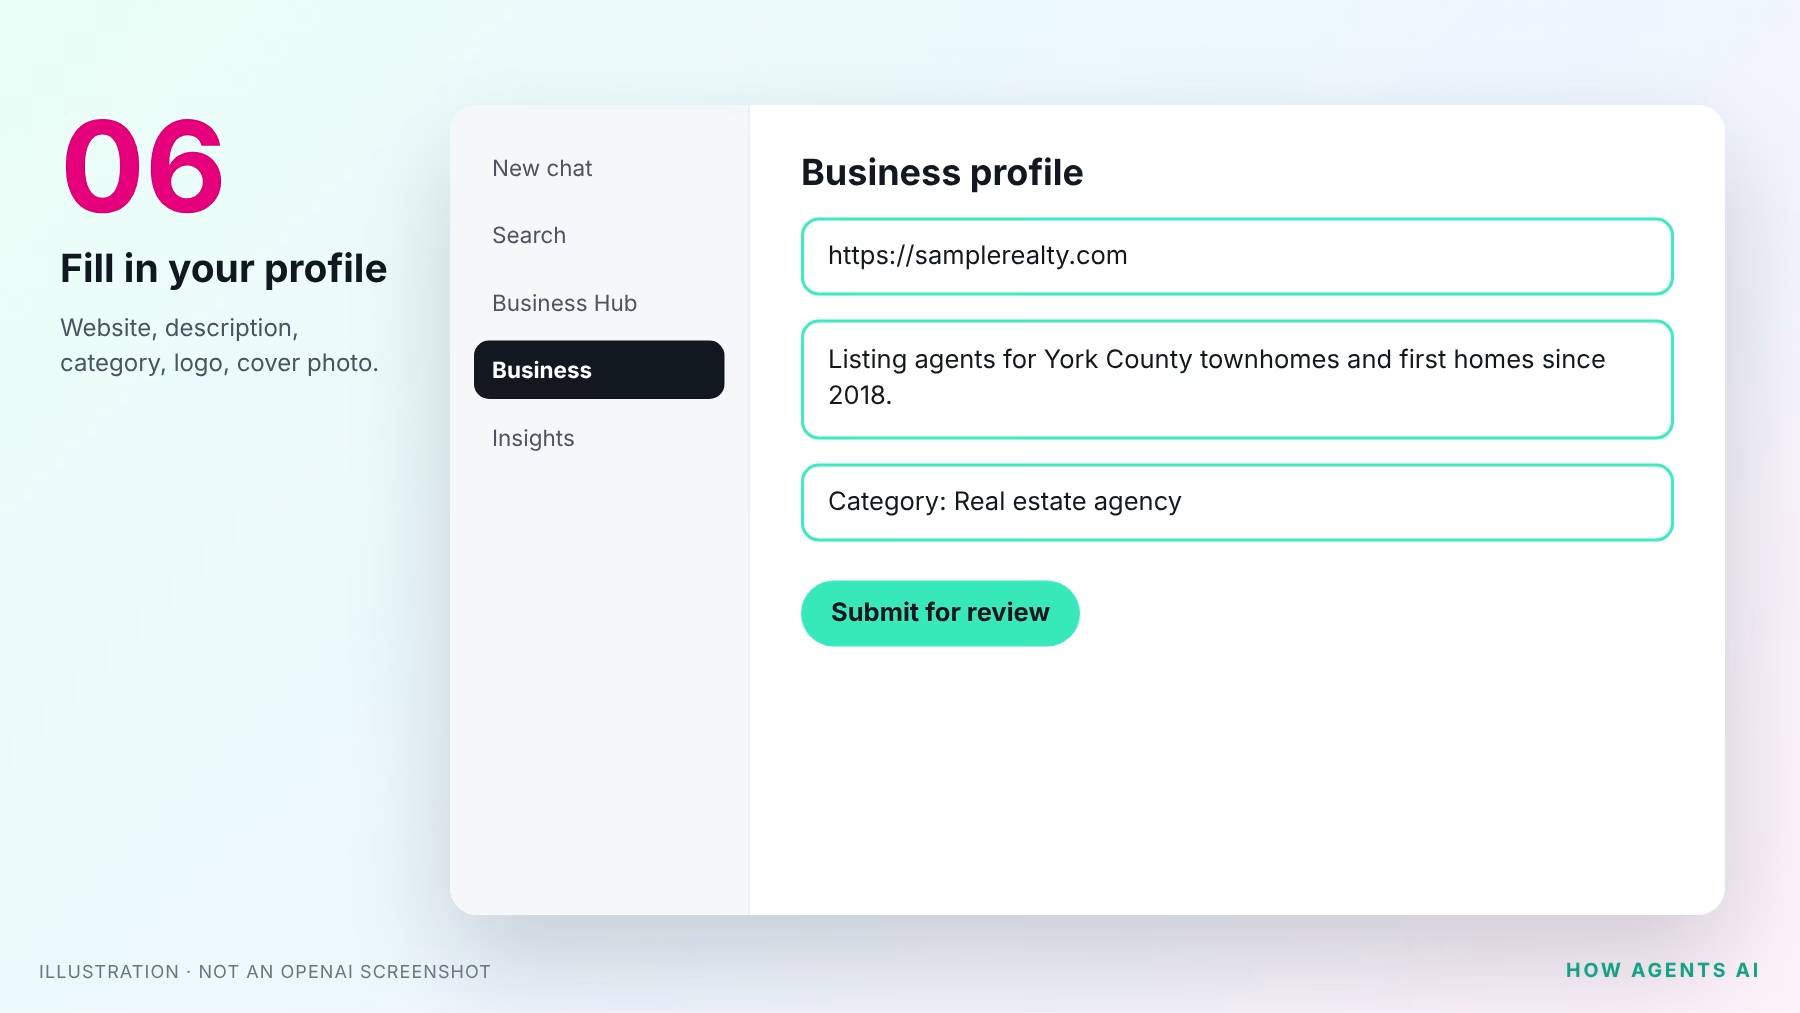
Open your profile in the Business tab and update your website, description, category and logo, and add a cover photo. Make it count:
- Name: match your license and your state’s advertising rules, including your brokerage name if required.
- Website: your own domain, not a portal profile.
- Description: who you help, where, and what you’re known for. “Listing agent for York County townhomes since 2018” beats “dedicated professional committed to excellence.”
OpenAI’s Businesses in ChatGPT policy requires accurate details, including service area, and bans fabricated reviews and unsupported guarantees.
7Check your insights
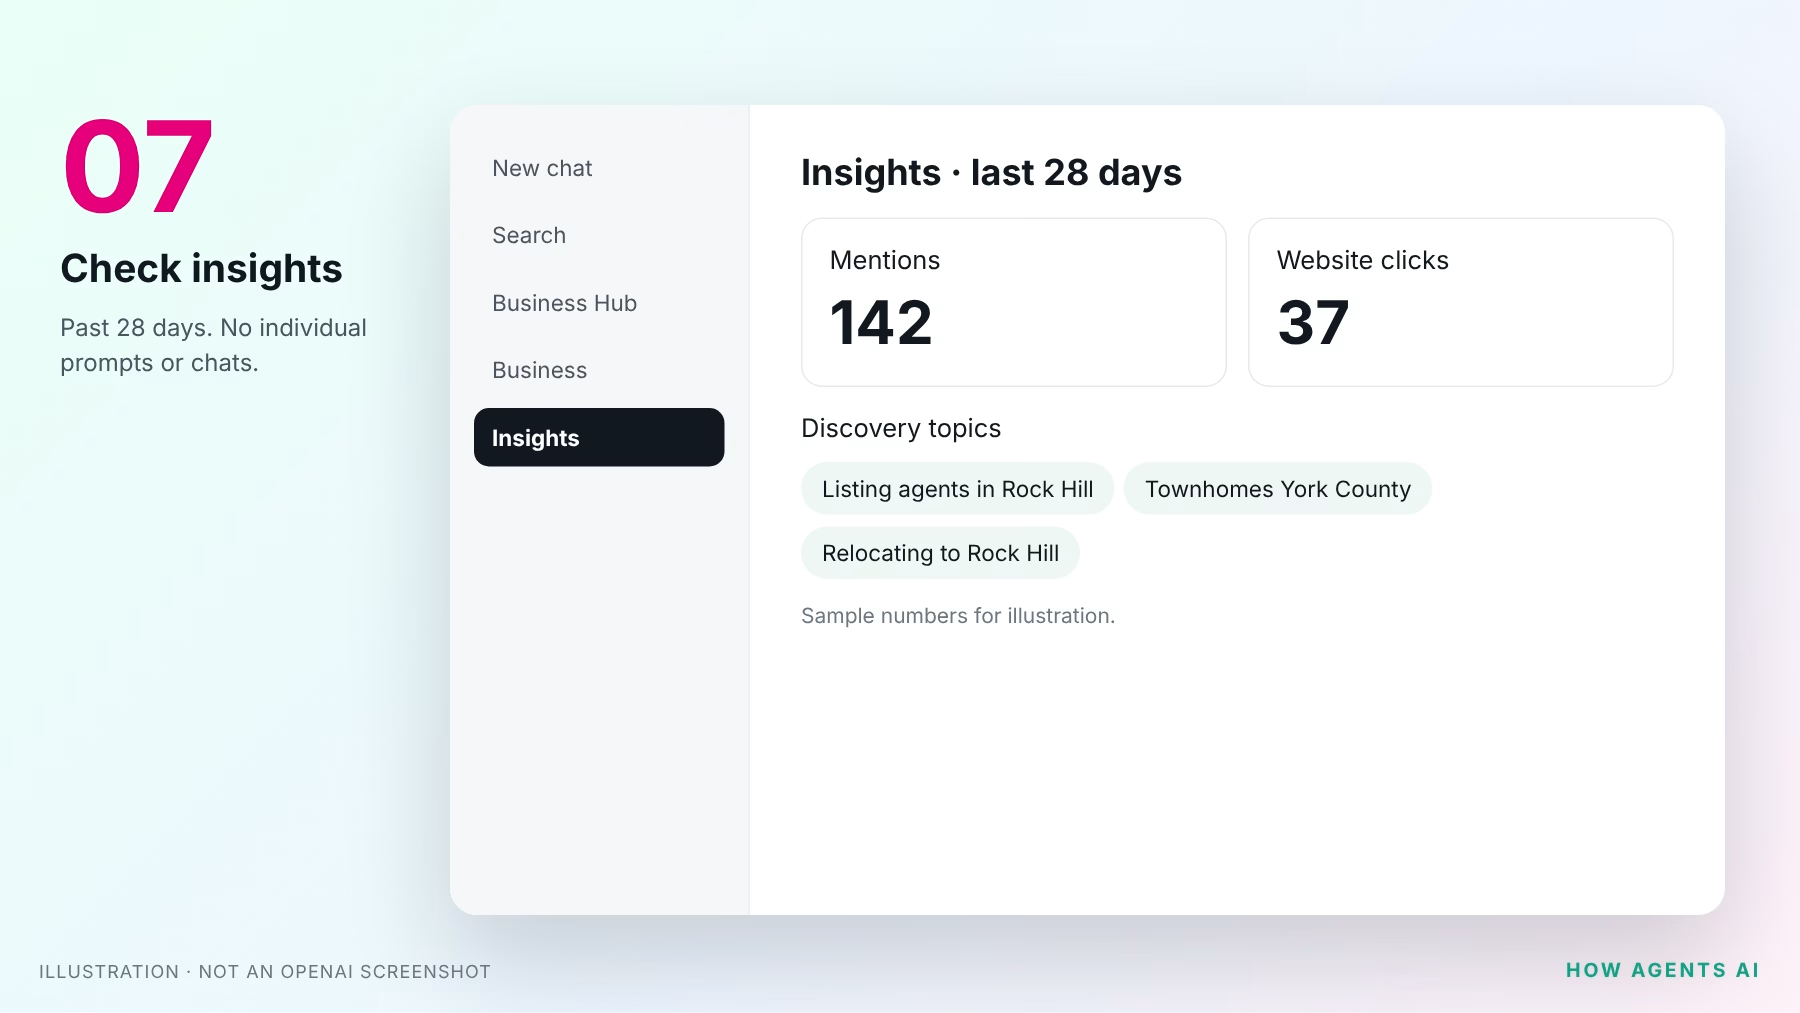
Open Insights to see the past 28 days:
- Mentions: for a local business, each time ChatGPT shows your location. For an online business, each time it references your website. Your name alone doesn’t count.
- Website clicks: people who clicked through to your site.
- Discovery topics: themes in answers that mentioned you. You never see individual prompts or conversations.
A blank number means not enough data yet, not zero.
Get the printable PDF checklist
Enter your email and we’ll show you the one-page PDF version right away, and email you the link.
Questions while you set it up?
Stuck on a step, or not sure which listing is yours? Send us your question and a real person on our team will answer.
OpenAI’s official pages
- Introducing Businesses in ChatGPT (OpenAI announcement, November 10, 2026)
- Setting up your business on ChatGPT (OpenAI Help Center)
- ChatGPT Business Hub (where you claim your business)
- Businesses in ChatGPT overview and FAQ
- Businesses in ChatGPT policy
- Business Agents Policy
Checked against OpenAI’s help article and policies on November 12, 2026. Businesses in ChatGPT is a beta, and steps may change. Screens are illustrations, not OpenAI screenshots.